
Eagle Engage Officers Guide
Eagle Engage is Tennessee Tech’s brand new system for student organizations, campus events, and more. Eagle Engage utilizes a platform provided by CampusGroups. This system puts the work of student organization leadership at your fingertips through a web-based platform and a full-feature mobile app. This page provides the information that student organization officers need to know take advantage of all that Eagle Engage has to offer.
Officer Guides
» Organization Re-Registration
» Member Management
» Event Registration
Organization Re-Registration Form
All Registered Student Organizations must re-register annually. In April, the organization’s status will be changed to “Requires Re-Registration.” Organizations must complete the process by the third Friday of the fall semester to remain registered with the University. Only student officers can re-register the organization.
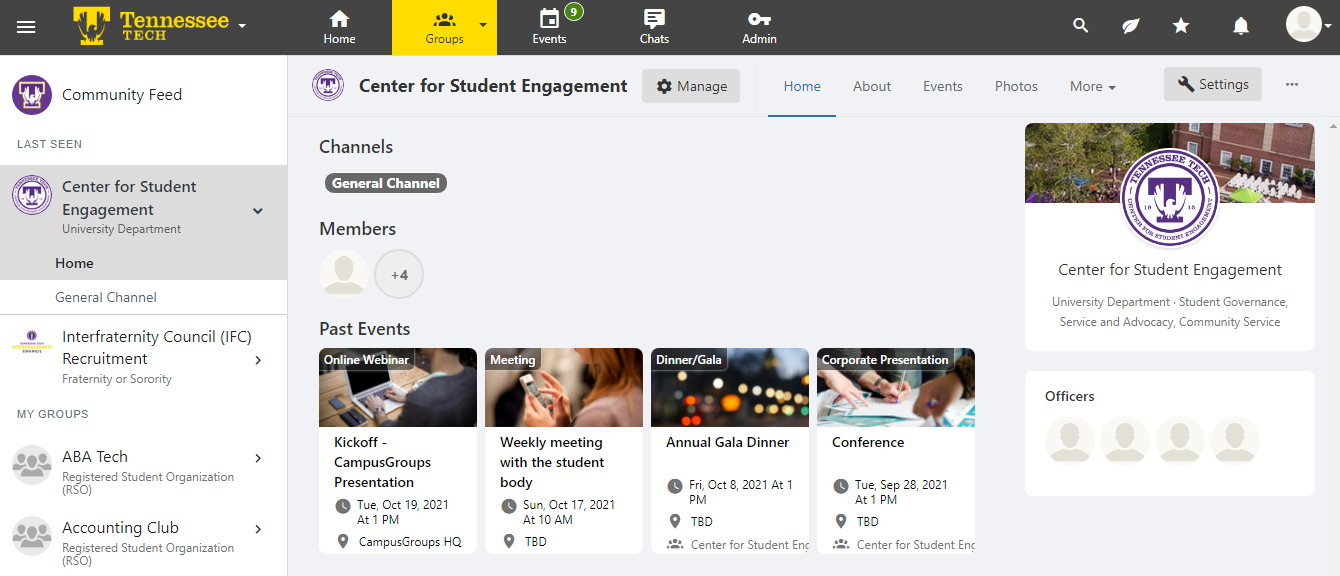
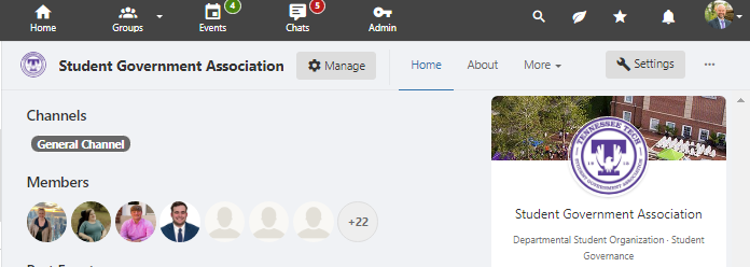
Find your organization using the My Involvement menu or use the Groups tab to search for it. If you are an officer of the organization in the system you will see a “Manage” or gear button next to the organization’s name.
If you do not see the gear or the “Manage” button, you are not an officer in the system. Other officers can make you an officer if needed, or you can contact engagement@tntech.edu for assistance.
The link to the Re-Registration form will appear at the top of the Dashboard (manage) page for Group officers.
Before attempting to Re-register the organization:
-
- Ensure that the organization’s roster is accurate. The re-registration form will ask you to confirm that the roster is accurate.
- Have the names, and ideally the email addresses, or the organization’s officers.
- Be prepared to speak to the organization’s achievements and challenges from the current year.
- Have a list of goals for the next year.
When you submit the form, those you have listed as officers and advisors will be sent an email asking them to confirm their willingness to serve in the role and to acknowledge the responsibilities and privacy implications of serving as an officer/advisor. All officers and advisors must confirm their role via this form before the Re-Registration can be approved.
The form submission must be approved by the advisor and by the Center for Student Engagement. The submitter can view their submission’s status by using the My Activity Menu and selecting My Submitted Surveys & Forms. We recommend that the organization inform their advisor when the form is submitted and following up with them to ensure that they approve the re-registration.
The re-registration process is your chance to review the organization’s Eagle Engage information and make changes. We recommend completing the form as an officer group.
Member Management
One of the first things that officers should do is to populate members in the Group. Officers can add members in two ways. First, officers can use the “Add Member” button in the upper right-hand corner of the Current Members screen. This method is appropriate for adding a few members at a time.
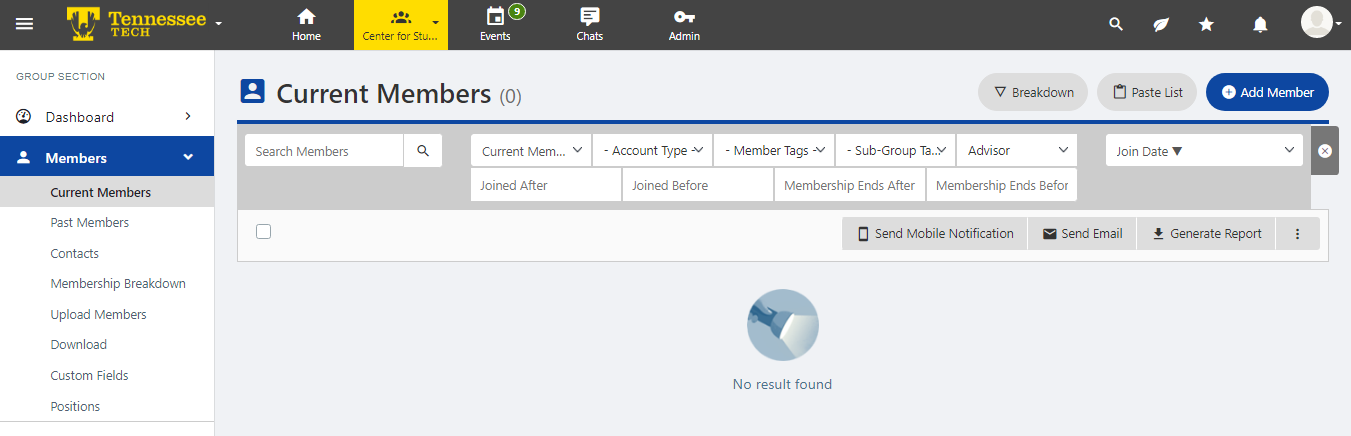
Officers can also follow the direction on the Upload Members screen. For organizations that currently have their members entered into an Excel file, this may be a good option. After some minor formatting, this method allows officers to upload all members at once, making it a good fit for large organizations.
Group Settings
Once the organization’s Re-Registration is approved, officers have the ability to manage a wide range of settings designed to maximize member engagement and organization visibility. Officers are encouraged to review Group Management training videos and resources, and to explore the many tools available via Eagle Engage.
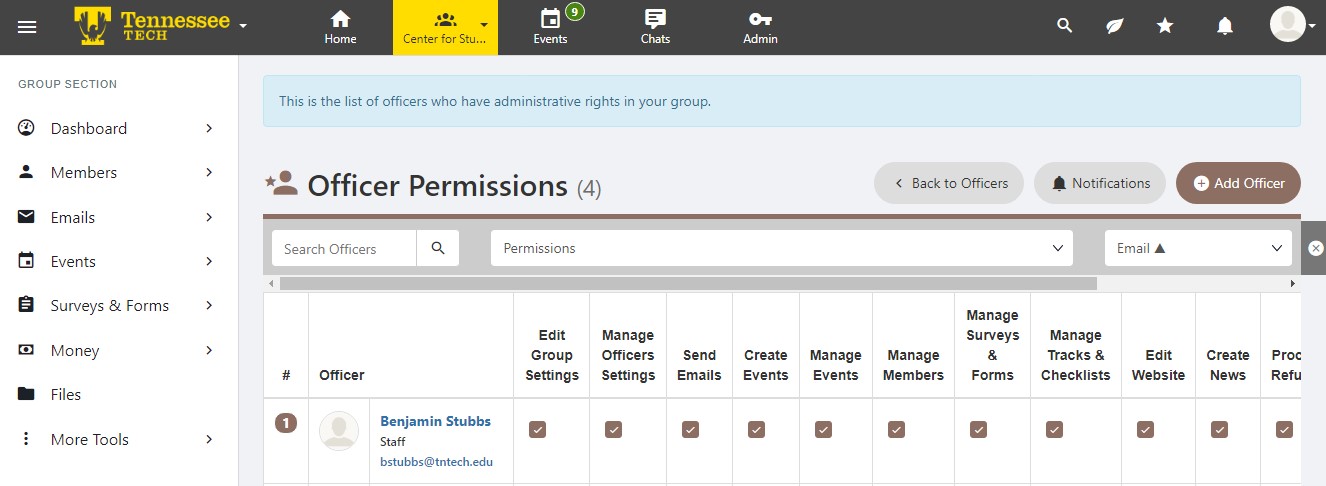
Officer Permissions
From the “Officers” tab in the group’s Dashboard, select “Permissions.”
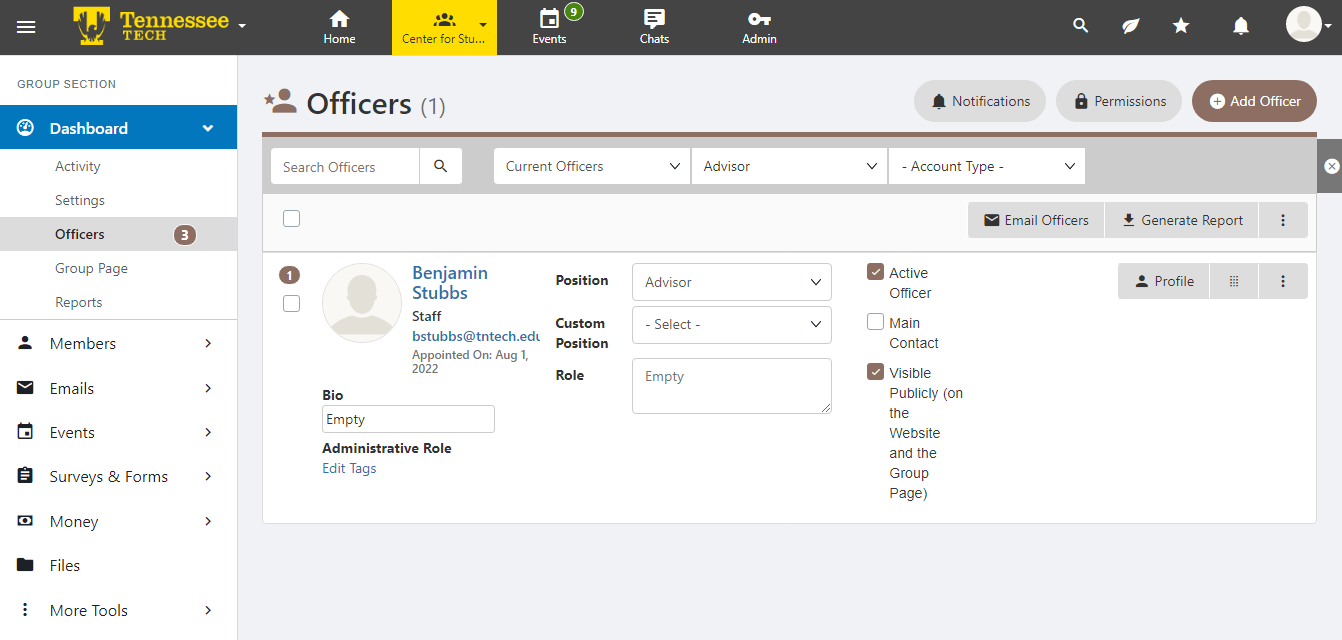
Then, select which permissions the individual officers should have. We recommend only
allowing organization Presidents and Vice-Presidents to Edit Group Settings and Manage
Officer Settings.
Member Visibility
In the Group’s “Settings,” using the Access & Privacy tab allows officers to manage Group membership privacy settings. Near the bottom of this tab you can prevent members from being able to see the Group’s other members* (they can always see officers). You can also determine whether this group should appear in members’ “My Groups” list. Individuals can also manage these setting from their end, but some organizations may want to make the group private so that non-members can’t learn whether or not another student is in the organization.
Member Groups and Tags
Using the “Tags” option in the More Tools menu, officers can create Member Tags and Sub-Groups.
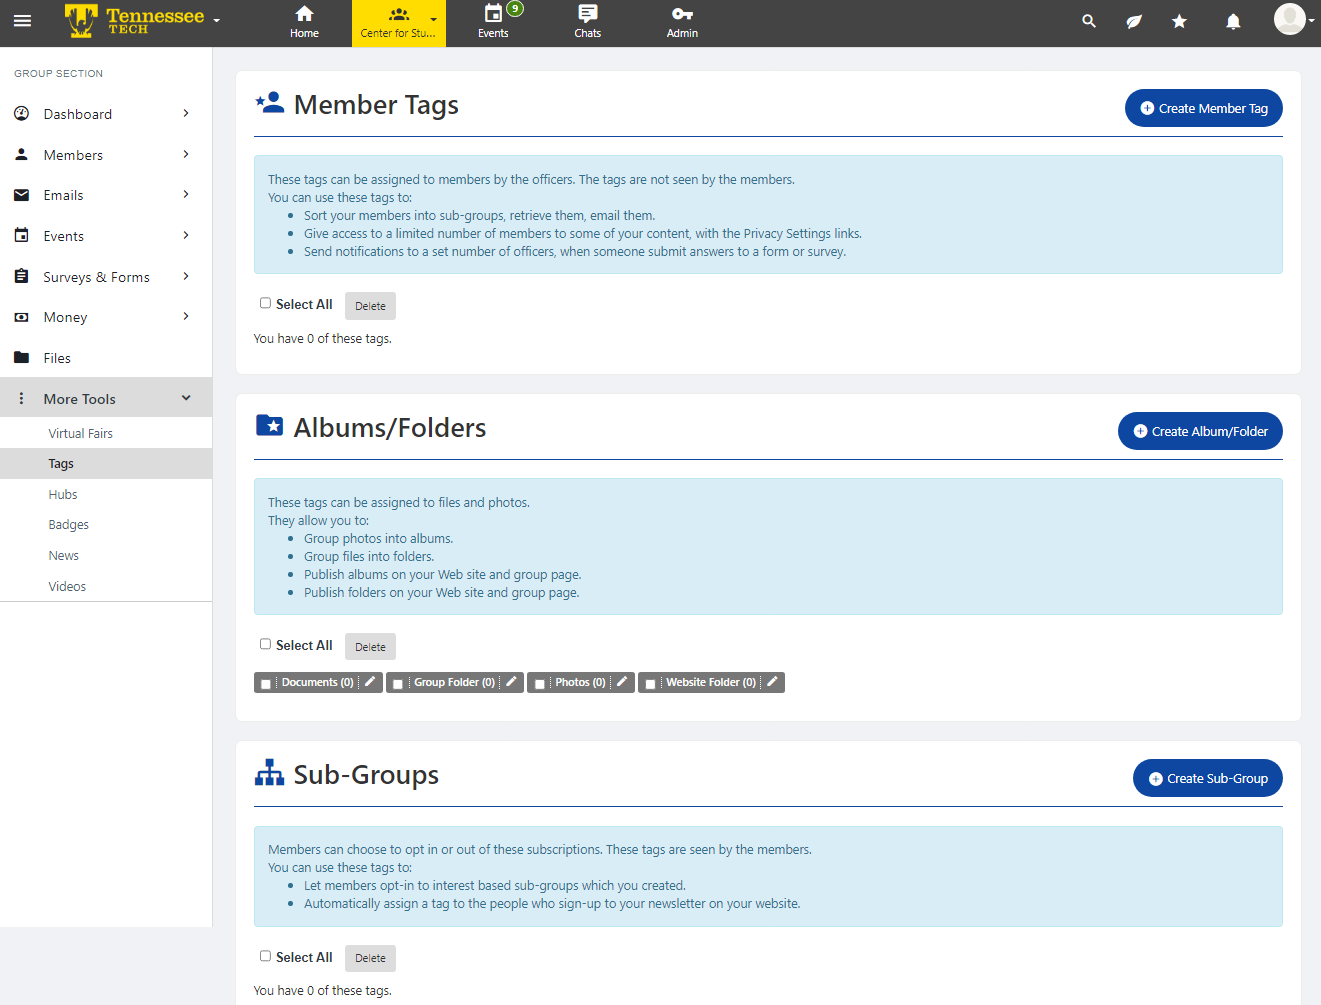
Tags can help make communication more efficient. An organization may tag all new members with a “New Member” tag, or members of certain committees. They can then sort by these tags in the Members screen to email them, give members with the specific tags access to certain files, and more.
Organizations can also create Sub-Groups, which are similar to Tags but members can opt-in to the Sub-Groups (rather than be assigned by officers). Sub-Groups may be a good fit for members who are working on an upcoming project and want to be copied on updates or included in Forum topics that all members may not be interested in.
Categories
Officers with permission to edit group settings can use the Settings option in the Dashboard menu to update the Group’s “Categories.” Students can sort student organizations by Category in Eagle Engage, so selecting the appropriate Categories will help prospective students find you.
Group Page
Officers with the appropriate permissions can determine what information is visible on the Group Page. After selecting Group Page in the Dashboard menu, select “Settings” in the upper right-hand corner. This will bring up a menu that allows groups to manage the Group Page that non-officers and non-members see. We recommend making the “About” tab the home page, and removing content that the organization isn’t keeping up to date (ex: Photos).
Event Registration
Eagle Engage offers a wide range of options and tools related to events. However, it can also be a bit overwhelming. These tips can help you register your events without a hitch.
First, review the Event Registration procedures from the Student Organizations website. Once you’ve reviewed the relevant information and have a solid event plan you will submit your registration request.
From your organization’s page, select “Manage.”
You can either use the “Create” button in the upper right-hand area of the Dashboard or navigate to the Events page and then select “Create Event.”
What
TIP: If your event is open to all students, consider including your organization’s name in the Event Name so that potential attendees can quickly connect the event to your group.
The “Description” will appear to members/users, so make sure it is clear and error-free.
Where
If your event is on campus you will be prompted to provide more information about your preferred location on the next page of the form. On-campus reservations must be made in CourseDog prior to submitting the Eagle Engage registration request to ensure that the information provided is accurate. For information about reserving facilities via CourseDog, please visit the Student Organizations Event Registration page. If the event is off-campus, an address is required.
If your event is online, please set the “Who can see the meeting link?” option to only display the link to those who are registered, and use the registration option later in the form.
Photo & Flyer
TIP: If your event is open to all students, make the event stand out by uploading an event photo and/or flyer.
Access & Display Options
We recommend setting Access & Display options to “Tennessee Tech University CampusGroup users only” for Who is allowed to register? and “Logged on users only” for Who can see this event? Note that organization-only events can utilize Group Tags and Sub-Groups to only engage specific members. This may be a good option for Executive Board meetings, new member events, etc.
Registration Options
Organizations can set up a registration feature via Eagle Engage. This tool may be useful if you have a limited capacity at the event or need to know who plans to attend. You can also communicate with those who are registered before and after the event.
Additional Event Details
On the second page of the submission, you will be asked additional questions about the event. By providing detailed and thorough responses, you help approvers quickly review and support the event. If information is missing or incomplete, the reviewers will likely ask for additional details and slow the approval process.
Approval
You can track your registration request from the My Activity Menu on the Eagle Engage homepage by selecting “My Submitted Surveys & Forms.” Approvers may send questions about your event, so check your email regularly while your request is pending. Please inform your advisor of the submission and ask them to review and respond to the request as soon as possible. If you are have questions about the status of the request, email engagement@tntech.edu.